
How do I create and configure a company account?
Learn how to create your company account in IC Project, configure it and invite employees into one shared workspace.
This guide explains how to create your company's main IC Project account correctly and manage employees effectively. Avoid common mistakes and get your team working together in an organised way! 🚀
What will you learn?
- ✅ How to create a new company account in IC Project correctly.
- ⚙️ How to configure the account initially.
- ➕ How to add employees to the system correctly.
A common mistake you can avoid
Many new customers ask employees to create their own accounts when they want to add them to IC Project. This is a mistake! 🚫
Remember: IC Project is one platform, one system and one account to which you invite all your employees. The aim is to have one shared workspace, rather than separate, disconnected accounts.
What should I do with my demo account data?
You have two options:
- Want to keep the demo data? 💾 Contact your sales account manager. They can convert your demo account into your company's main account.
- Prefer a fresh account? ✨ Create one from scratch using the instructions below.
Step 1: creating a new company account
Start by visiting our homepage: icproject.com.
Click the blue Try for free button in the top-right corner.
Enter the email address you intend to use for administration. 📧
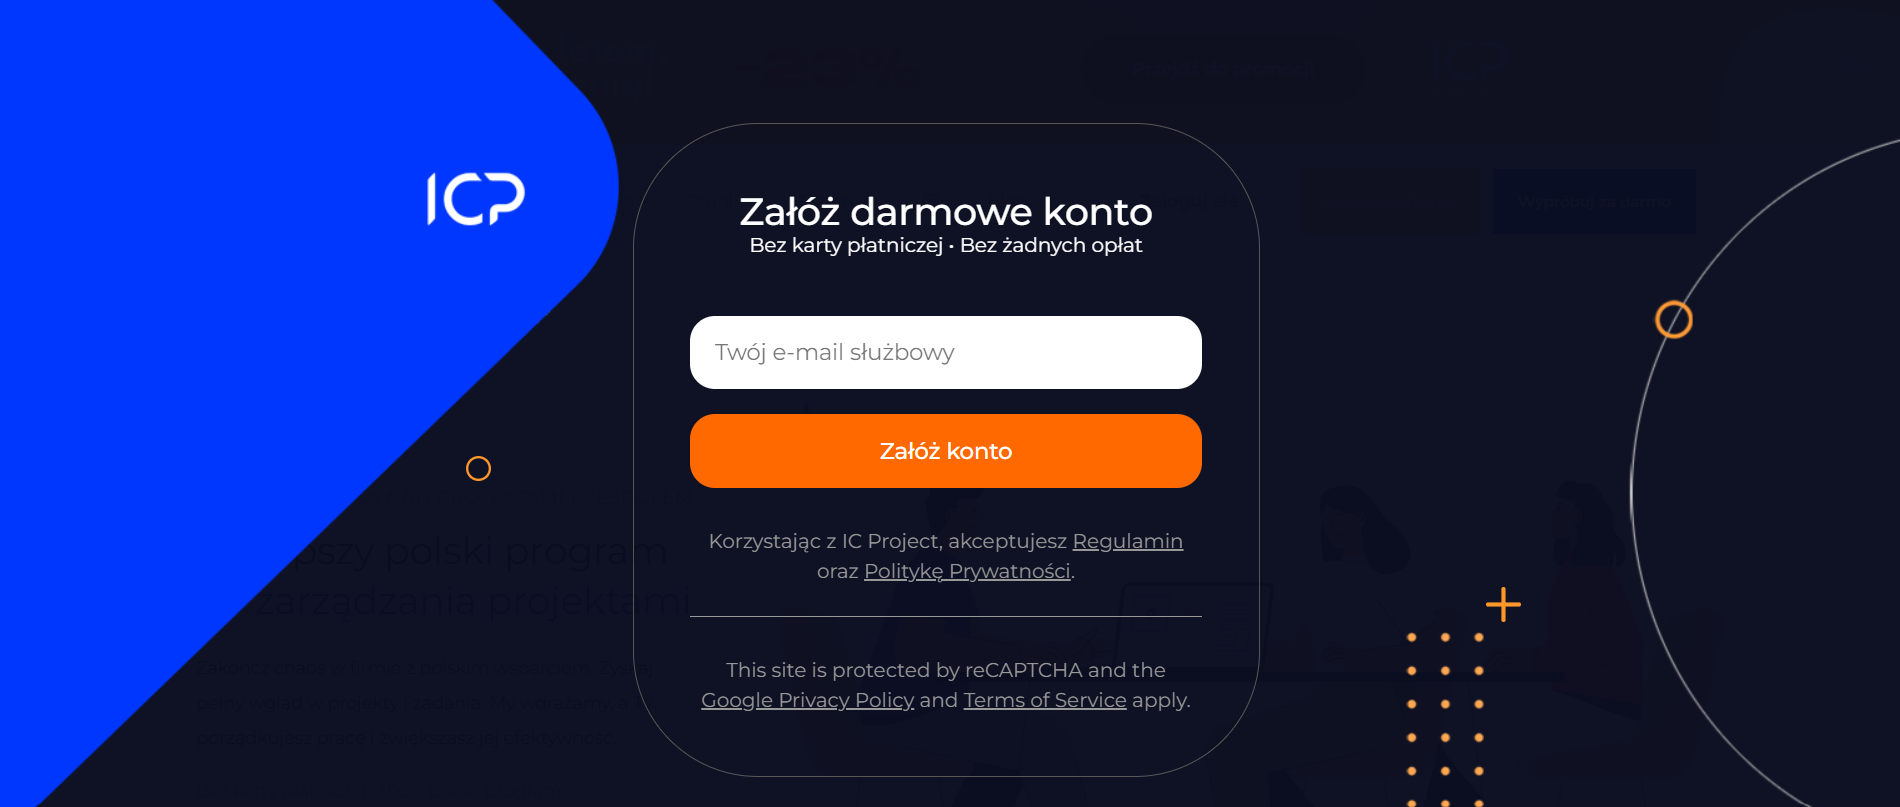
- 💡 Recommendation: You can create a dedicated administrator email address, such as
icp@yourdomain.com. You can also use your existing work email address.
- 💡 Recommendation: You can create a dedicated administrator email address, such as
After entering the email address, click Create account.
- Congratulations! Your company account in IC Project has been created! 🎉
Step 2: basic account configuration
During account creation, you will go through several key configuration steps:
Basic details: enter your company name, the administrator's first and last name, and a password for your main account.
Click Next.
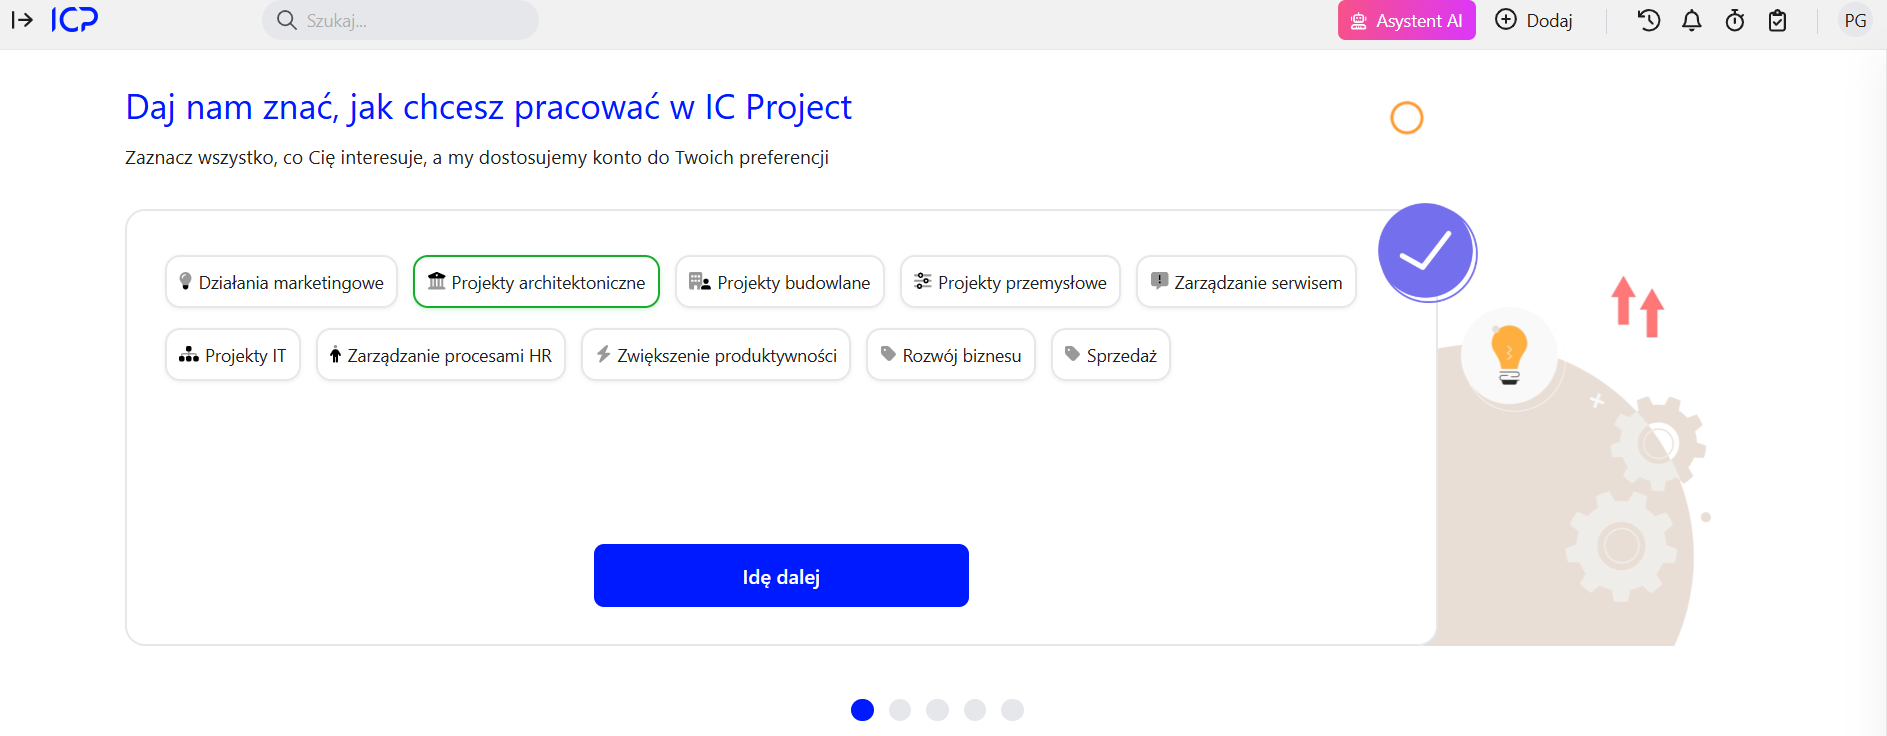
How you want to work in IC Project: select what interests you, and the account will be tailored to your preferences. Then click Next.
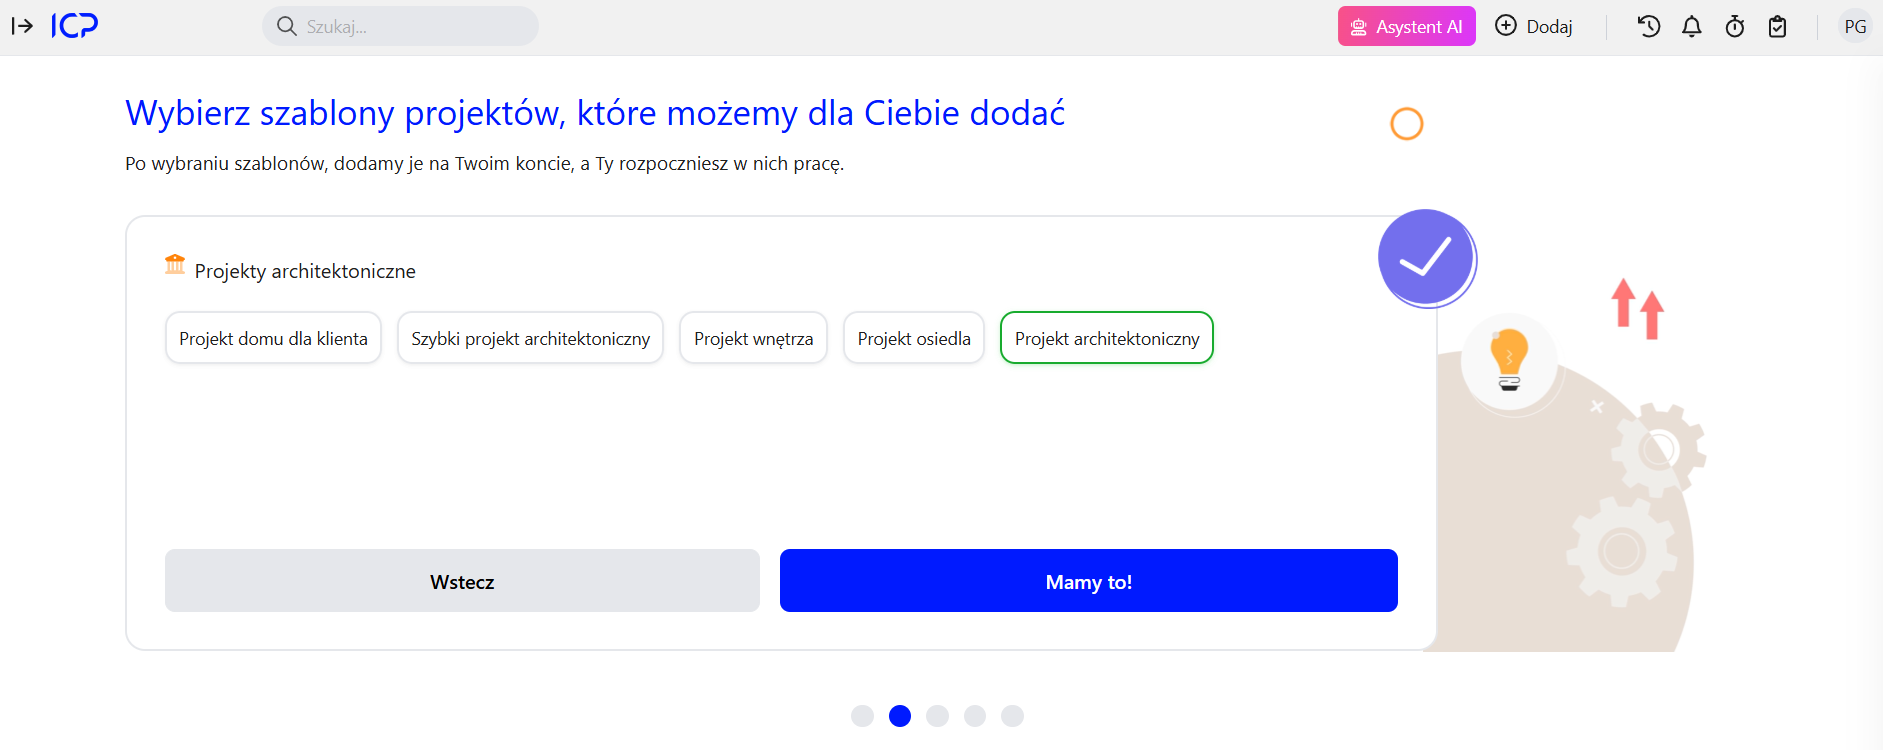
Choose a template: the selected template will be added to your account. Then click All set!.
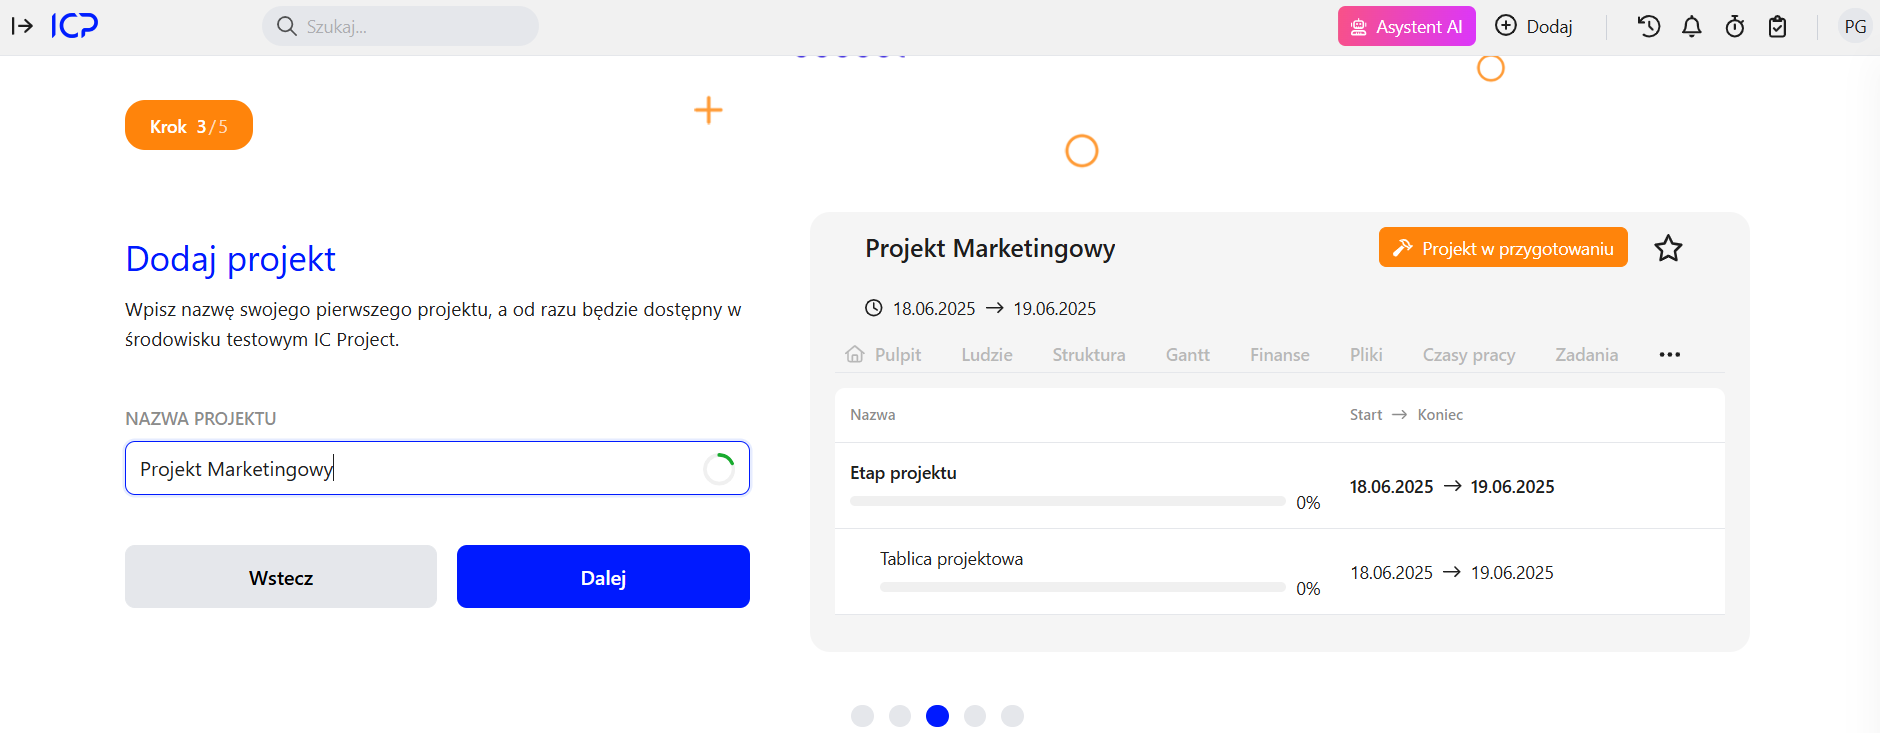
- Project and task names: name your first project and add a task.
Add employees/administrators (optional): you can enter employee email addresses now and assign permissions (employee or administrator).
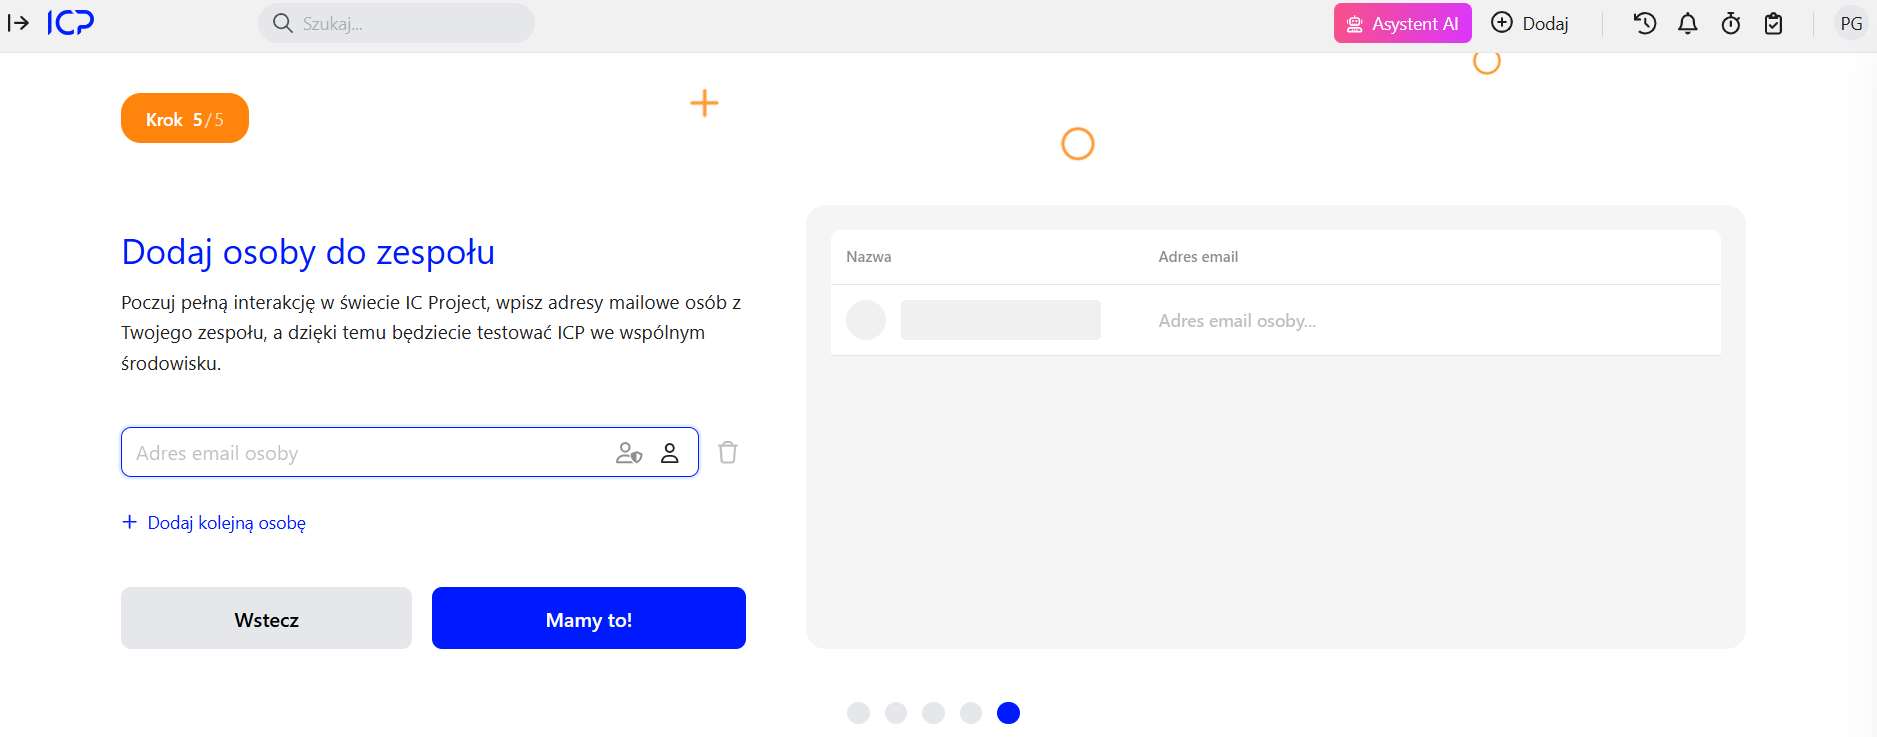
Important: this guide explains how to add employees after account creation, so you can skip this step by clicking All set!.
Your company account is now ready. The system has also created one project with a task board and the task you entered.
Step 3: finishing the initial account setup
Before adding employees, it is worth completing the initial setup:
- Confirm your email address: the system may send you a verification code. Copy it into the appropriate field. After you refresh the page, the message disappears.
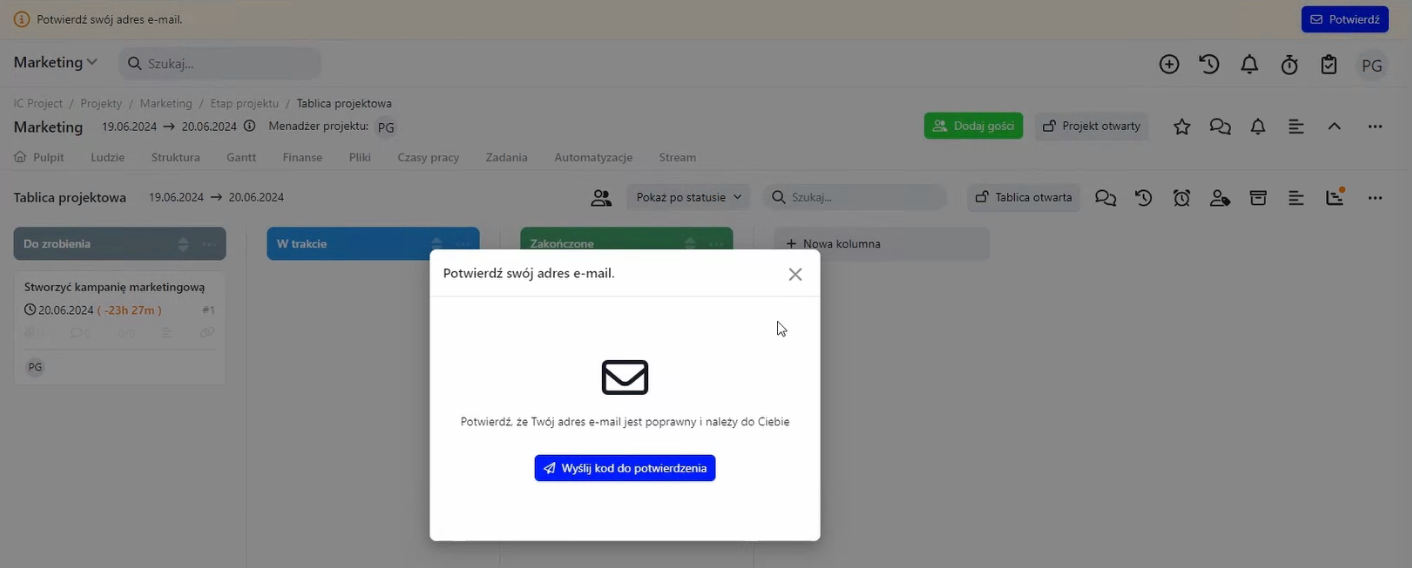
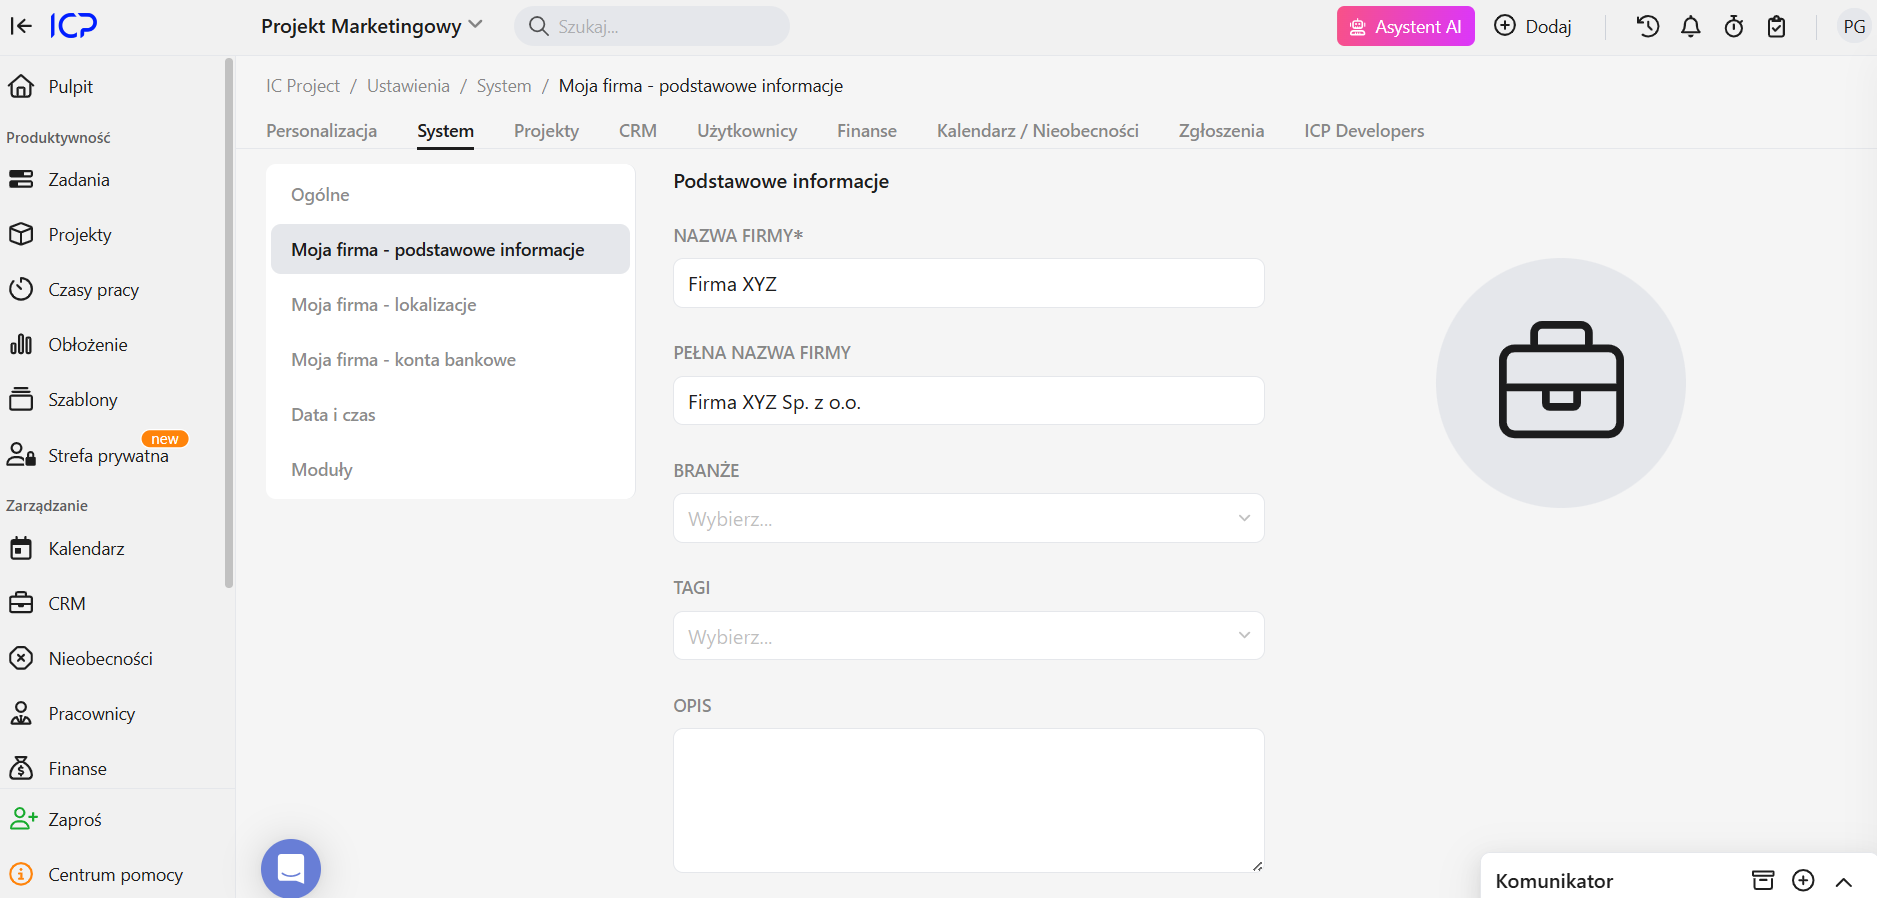
- Complete company details:
- Click your avatar in the top-right corner.
- Select Settings.
- Open System, then My company — basic information.
- Complete your company details, which will be visible to all employees. You can also add your company's logo! 🏢
- Manage modules:
- In the modules section, enable or disable the modules you want to use, such as tickets or Wiki. Decide which ones should appear in the left-hand menu.
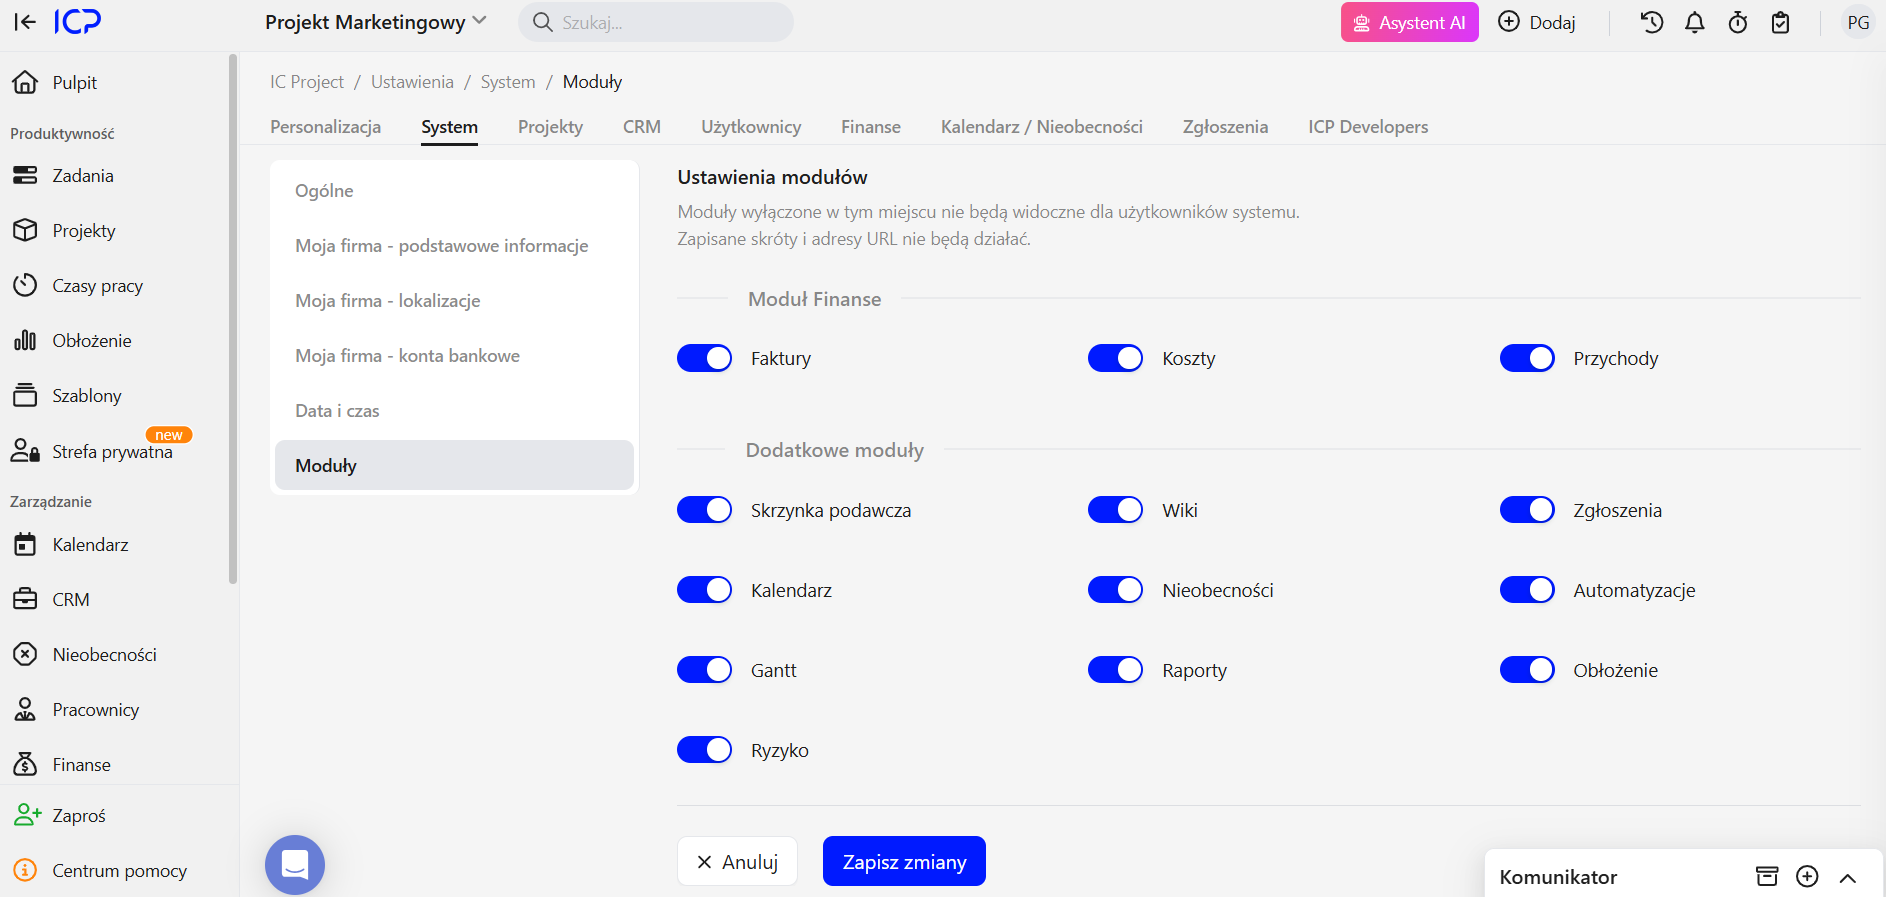
- In the modules section, enable or disable the modules you want to use, such as tickets or Wiki. Decide which ones should appear in the left-hand menu.
- Create roles and permissions:
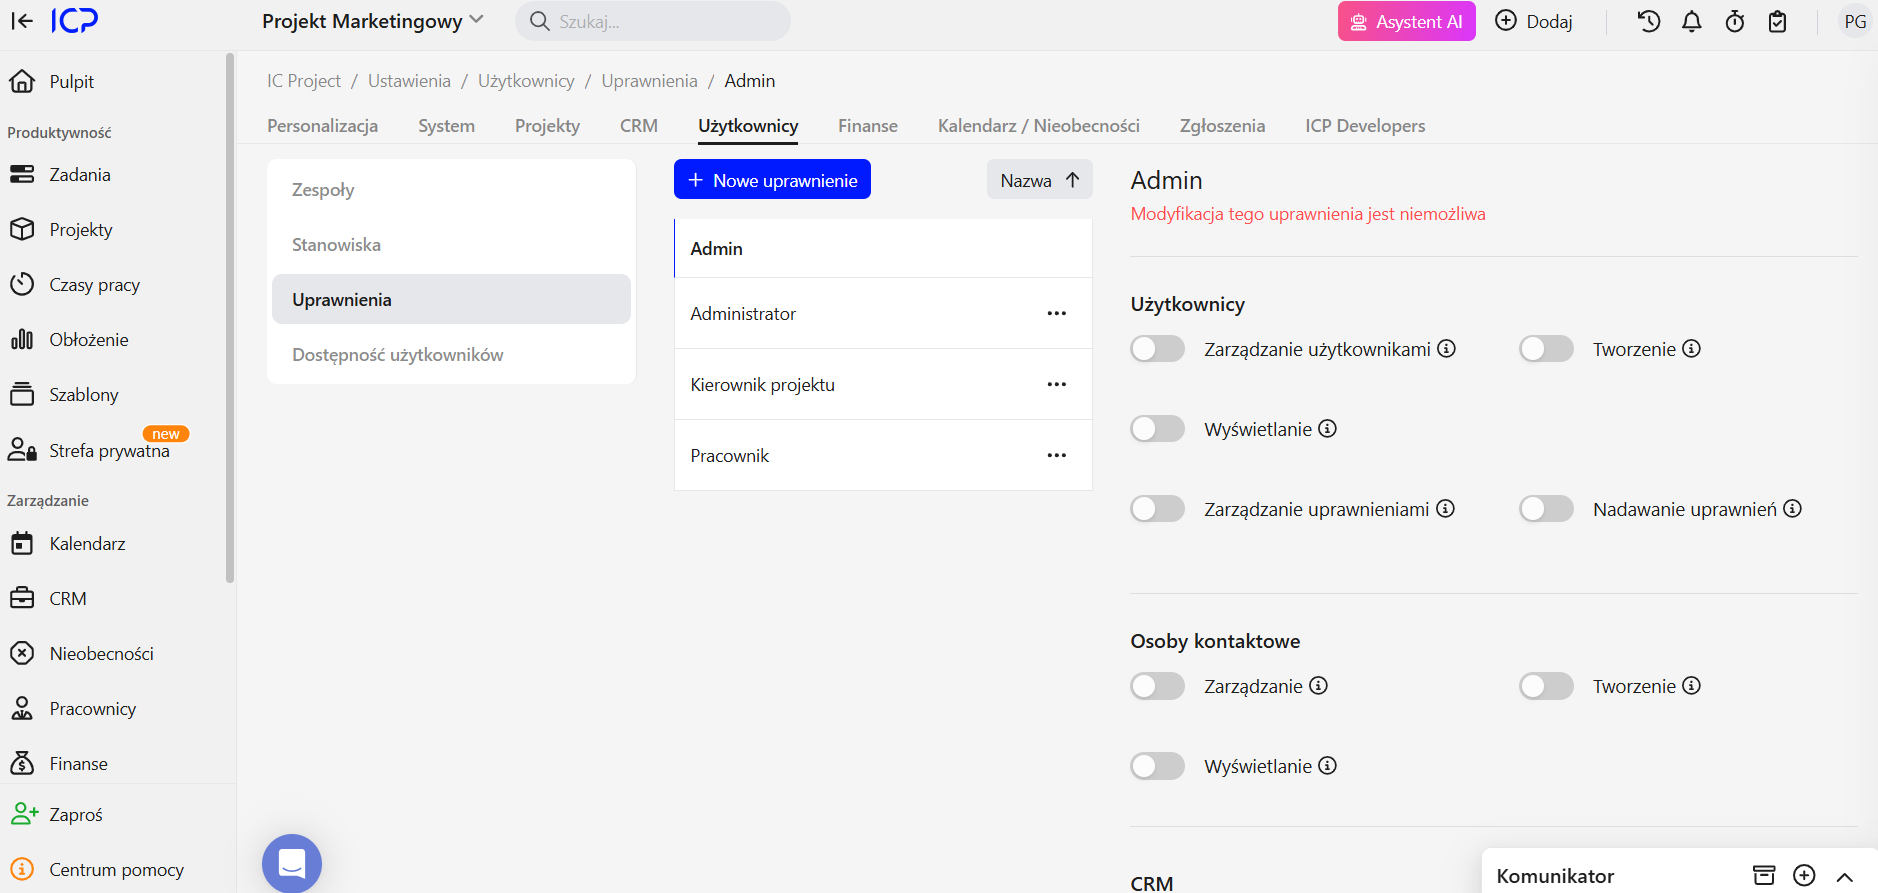
- Create custom roles for employees to manage their permissions precisely.
- 💡 Tip: the system provides four suggested roles by default. To learn more, read the user permissions guide.
Step 4: adding employees
With your account configured, you can now add your employees!
Open Employees in the left-hand menu.
- Initially, you will see only yourself as the administrator.
Click the blue Add employee button.
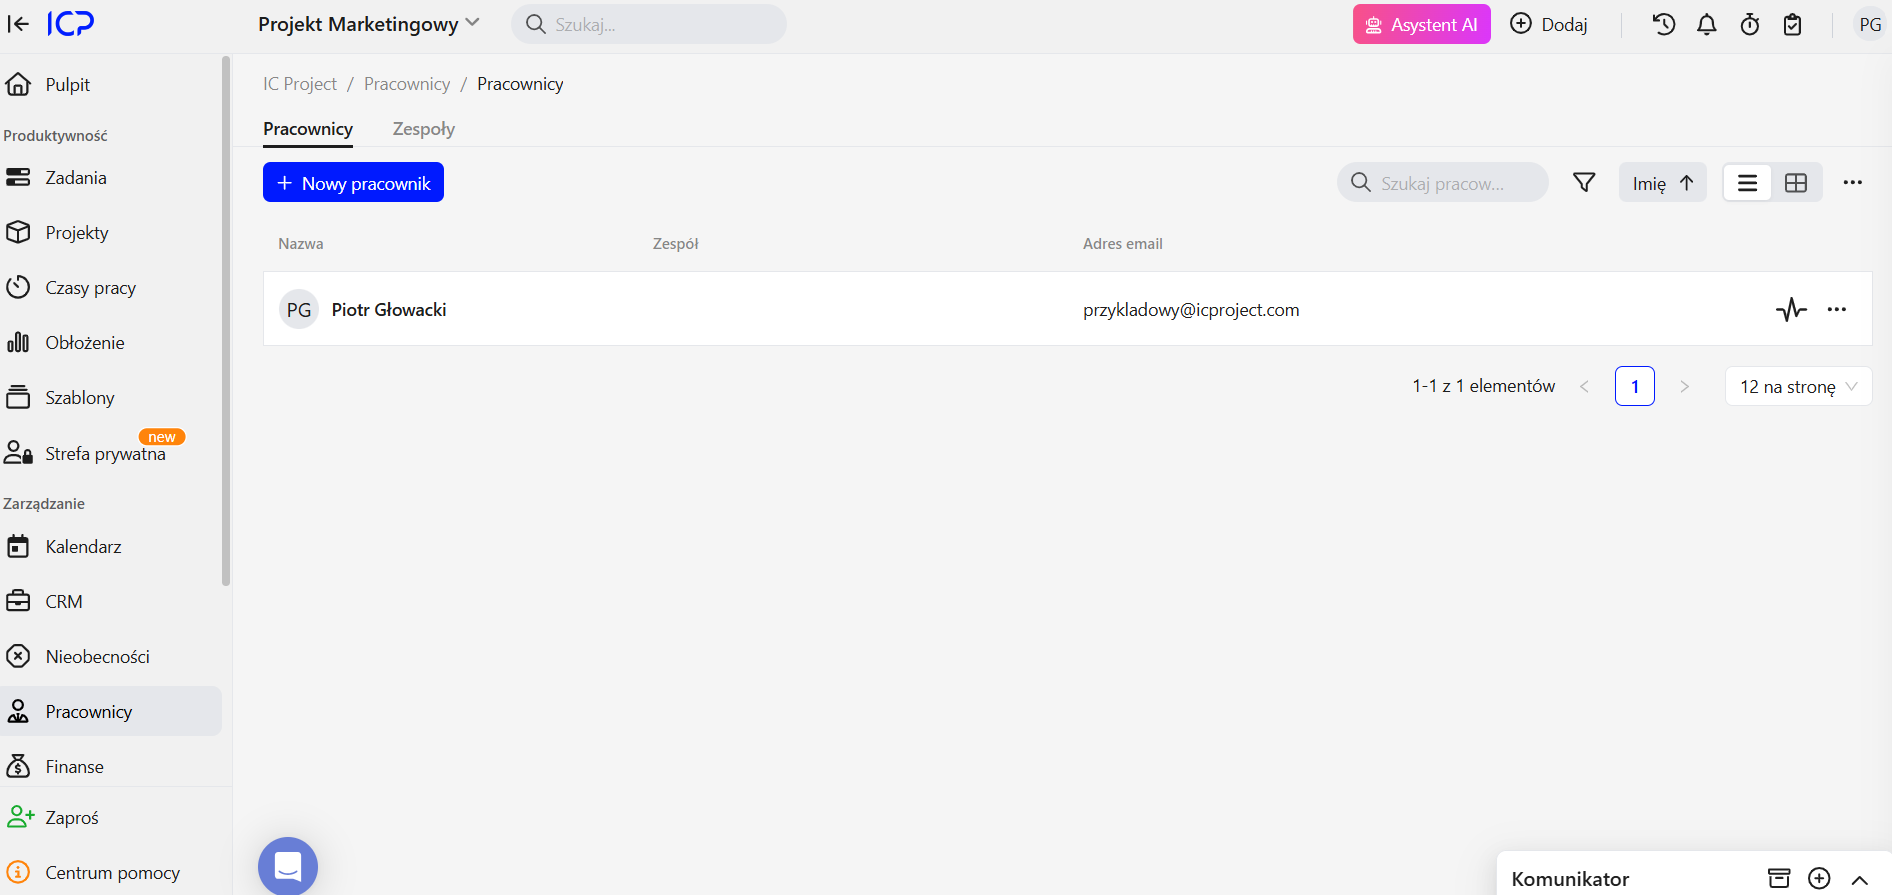
Expand Advanced and enter:
- The employee's email address.
- The employee's first name.
- The employee's last name.
- That is enough to start with.
Click Save.
- The system emails the employee, who needs to complete registration.
- 🚨 Very important: the employee should respond to the email and complete registration within 48 hours. We therefore recommend letting employees know in advance that they will be added to your IC Project account.
What does the employee see and do?
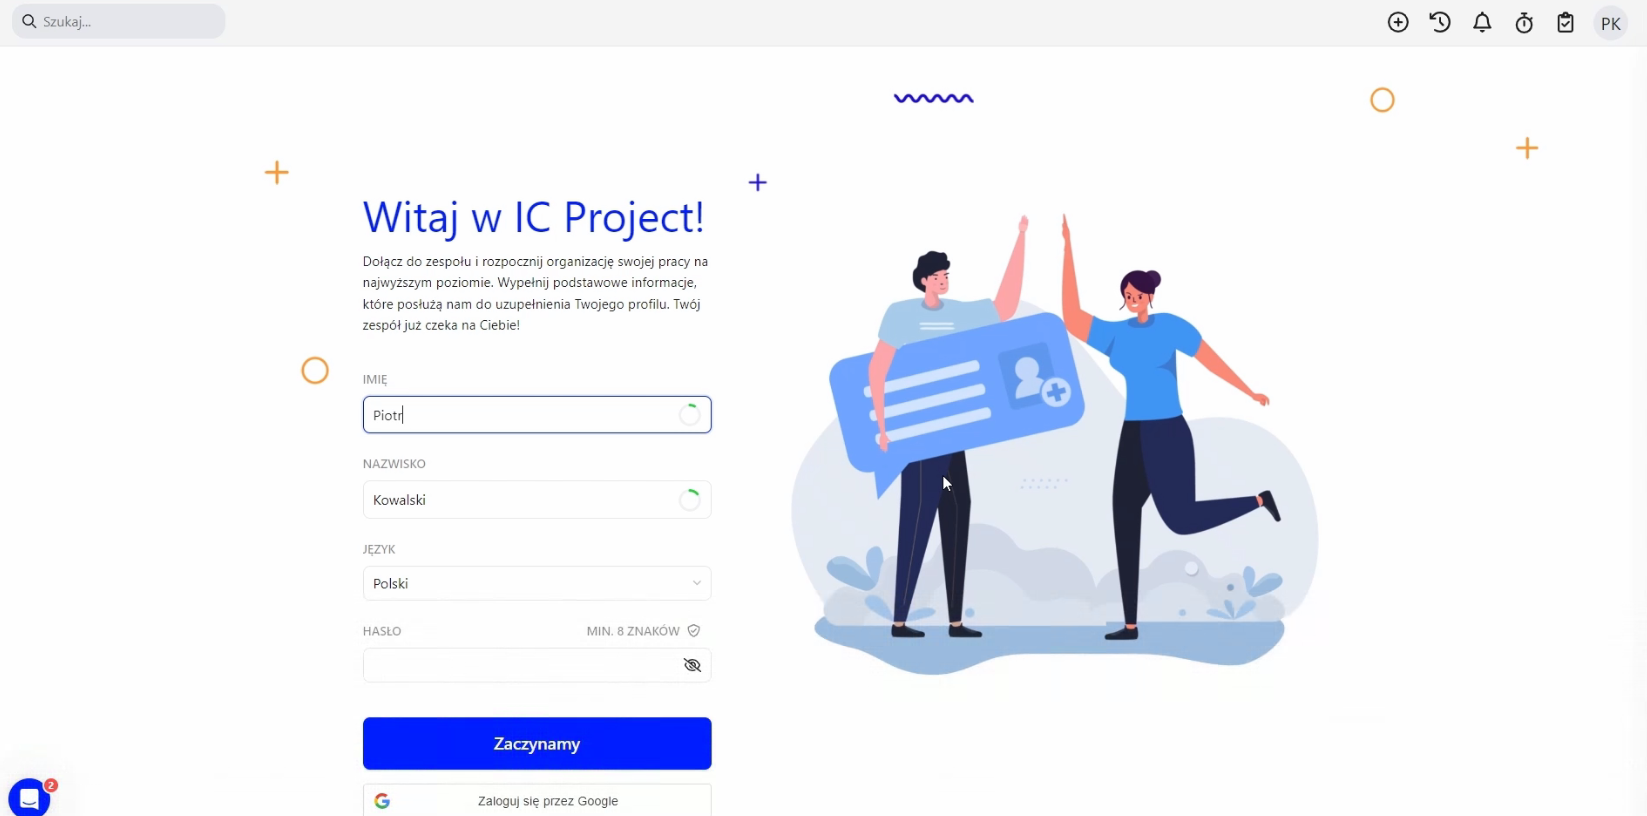
Let's look at this from the perspective of an employee, such as Piotr Kowalski.
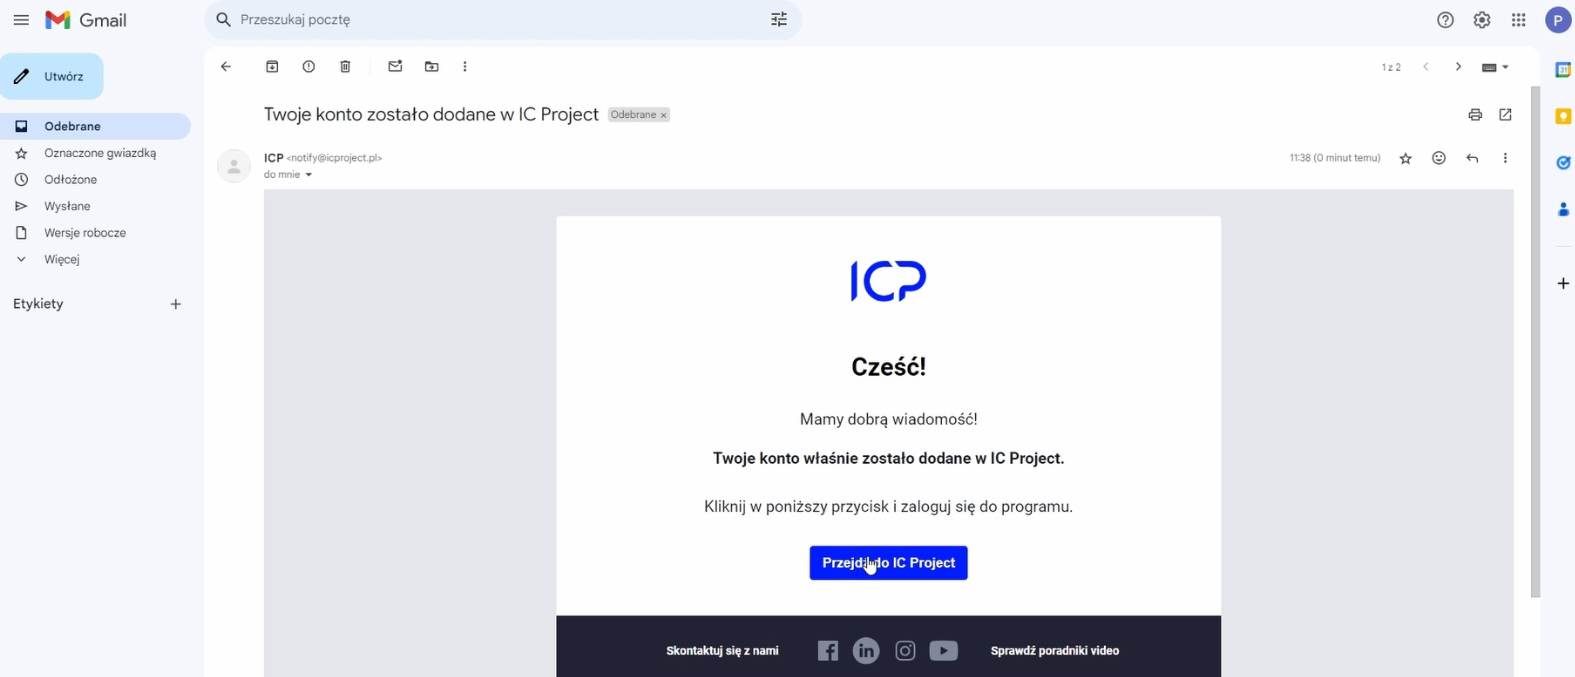
The employee receives an email titled “Your account has been added to IC Project”.
They click the blue button in the email.
All they need to do is set their password.
After setting it, they click Let's start.
- The employee is now in your IC Project workspace! 🥳
- From now on, they log in using the email address you added and the password they set.
Summary and an important reminder
This is how to create your company account and add all your employees correctly. Remember: IC Project should be one account and one shared workspace for your entire team! 🤝
Troubleshooting: demo and company accounts using the same email address
What if your demo account and new company account use the same email address?
- When you log in, IC Project asks which account you want to access.
- To avoid this: contact your sales account manager and ask them to delete the demo account.
- The same situation can affect employees who tested IC Project using their own accounts. If you add them to your company account, they may see the same account selection. In that case, contact your sales account manager as well.
We hope this guide helps you get started smoothly with IC Project!